Lyneen's 2021 Class Kits Instructions

Showing posts with label Stencil. Show all posts

Friday, September 5, 2025

Blank Page Muse Fall Sunflower

This is my first September project for Blank Page Muse   Sunflowers remind me of Fall. They are also one of my favorite flowers. Today the centerpiece of my card is the Sunflower and Dragonflies Art Stencil.

In addition to the Sunflower and Dragonflies Art Stencil The Eyes 1 StampLearn from Yesterday sentiment and the Steampunk Romance: Digital Printable Papers were used!


Additional supplies used:

  • Black Stamping ink
  • Acrylic block
  • Gold Wide tip Sharpie
  • Cosmic Shimmer Graceful Mustard Glitter paste
  • Lunar Paste Refined Copper
  • Astro Paste Tropical Tango
  • TCW Stencil Butter Olive (not pictured below)
  • Spatula
  • Water
  • Paper towels
  • Glass Dip pen and ink
  • Deco Foil scrap
  • Watercolor paper
  • Paper Scraps
  • Adhesive/dimensional foam/glue stick

Have you ever spent time glue paper scraps, it is one of my favorite pastimes.  I use a watercolor paper pad to glue the scraps.  It is very relaxing, and it doesn't have to be perfect! The paper this project is on is one of my "glue book" pages. 


Print the Steampunk Romance: Digital Printable Papers two sheets per page.  This way you are able to shrink the size of the printed images. The eye image and sentiment were stamped on a couple of the papers.  


On the watercolor "glue page" stencil the Sunflower and Dragonflies.  The petals are Cosmic Shimmer Graceful Mustard Glitter paste.  The sunflower center is Lunar Paste Refined Copper and the dragonflies Astro Paste Tropical Tango. Let each area dry before adding the next color. 


Once the pastes were dry, it was time to add black ink with the glass pen.


You can see that the sunflower petals are outlined with the black ink.  In the first picture above the outline was a single pen line.  For the flower to really standout. a second pass was made with the glass pen, see the second photo above. All the gaps left by the stencil are filled in with the black ink.  


The stamped eyes and sentiment are outlined with the glass pen.  You can barely see the glass pen in the picture above.  Then let everything dry before foiling and assembly. 


Cut the paper to size, this is a 6 x 6 card. Edge the card front with a wide tip gold sharpie pen.  To randomly apply the foil, gently swipe a glue stick and press the foil on it.  Be sure not to apply too much glue stick or you want it to be splotchy and like peeled paint. 

Mount the card front on a 6x6 card base. The stamped sentiment and eyes were adhered to the card with dimensional foam.


Hope to see your Blank Page Muse creative works on our Facebook Fan Page. It is always a pleasure to see what everyone is working on.

Visit our social media sites for more stamping fun!

I Brake For Stamps -https://ibrakeforstamps.com/

The Blank Page Muse- https://blankpagemuse.com/


Thursday, October 3, 2024

I Brake for Stamps - Witchy Halloween Card

Happy Halloween! This is a card I shared on the I Brake for Stamps blog in August.  I thought it was worth sharing again!  This is a fun technique that I learned many years ago and had forgotten. Creating my own layering stencil. 


Stamp from I Brake for Stamps
Large Witch with Cat


Other Supplies:
All & Create Rectangle #32
Circle die ½ inch
Tim Holtz Oxide Ink Hickory Smoke, Squeezed Lemonade, and Carved Pumpkin
Staz On Jet Black
Stamping Platform
Tree Punch
Acetate
Water squirt bottle
Paper Towel


For this project I wanted to create the background with inks, with an ominous full moon. To do that I needed a mask for the moon and then a mask to cover the night sky surrounding the moon. Using a 2 1/2-inch circle I die a circle in the center of the acetate.

Using the All & Create Rectangle #32 cut the black frame and the center white mat.

On the stamping platform place the white mat, with the circle die cut from the acetate.
 

Apply Tim Holtz Oxide Ink Hickory Smoke on the map as pictured. Spritz whit water and dab with a paper towel to remove excess water. 


Now place the piece of the stencil with the circle cut out of the center of the acetate. 


Then ink the moon using mask stencil and Tim Holtz Oxide Ink Squeezed Lemonade, and Carved Pumpkin.  Ink the whole moon with Squeezed Lemonade, then lightly ink the edges with Carved Pumpkin.


With StazOn ink stamp the image of the witch. That big moon just sets the silhouette of flying Witch

Adhere the white mat to the black mat adhere to card base with dimensional foam. 


Punch out a tree for black card stock. The tree gives the image of the witch dimension. 


Adhere white and black grudge mat to the orange card base. Add a little bling with black gems.

Please visit our social media sites for more stamping fun!

Friday, April 5, 2024

Blank Page Muse - Spring Makes My Heart Sing

I am ready for Spring in full bloom!  How about you?  Today I have played with stencil, paste, ink, digi papers and velum. 


For this card I used the following from Blank Page Muse:

April Small Calendar digital papers by Pam Bray – the background paper and sentiment

TCW554 Stencil Butterfly Collage

Hearts & Broken Hearts Stencil designed by Stephanie Eaton SEHeartSt 

Poppy Line Drawing Flower ArtRubber Stamp by Daniella Hayes

Other supplies
Ink Versafine Tulip Red
Ink Versafine Black
Ink Blending Tool
Teal Paste
Gold Paste
Spatula
Velum
Stazon black ink
Gold wide tip pen
Teal cardstock
Dimensional foam
Ribbon
Crystals


Cut background mat from the April Small Calendar digital papers by Pam Bray, to desired size. On the background mat with the Hearts & Broken Hearts Stencil add red hearts.


Use the TCW554 Stencil Butterfly Collage with teal and gold paste add the butterfly and other textures. 

Set aside to dry.

Stamp the large poppy on velum with Stazon black ink three times.  Masking when the flowers overlap.  Make sure the stamped images are wider than the card. Let the ink dry. Once the ink is dry.  Fussy cut along the top and bottom edges of the flowers. Leave enough velum on the sides, the velum will be wrapped around the sides of the card.  Fold one side if the stamped velum and adhere edge to the back of the card.  Repeat on the other side.  

Attach the stenciled and stamped mat to the base teal mat. Adhere the teal mat to the base card.  


For a 15% discount on all orders use the code BPMLyneen

The code is good on both "I Brake for Stamps" 

OR the "Blank Page Muse" websites

Please visit our social media sites for more stamping fun!

I Brake For Stamps - https://ibrakeforstamps.com/

The Blank Page Muse- https://blankpagemuse.com/

FB Fan Page- https://www.facebook.com/groups/blankpagemuse/

Instagram Shop- https://www.instagram.com/blankpagemuse/

Instagram Blog- https://www.instagram.com/blankpagemuseblog/

Twitter- https://twitter.com/BlankPageMuse

Pinterest- https://www.pinterest.com/blankpagemuse/boards/


Monday, January 15, 2024

Alice Ate the Cake a Blank Page Muse Project

Today I am sharing my second in a series of ALICE in WONDERLAND projects. Blank Page Muse has two full stamp plates of ALICE.  You will find both of them here:

Alice in Wonderland Characters Set 1

Alice in Wonderland Characters Set 2


Alice Ate the Cake

To make this tag I used the following stamp & stencil from Blank Page Muse:

Alice in Wonderland Characters Set1 Art Rubber Stamps SC50

Butterflies and Flowers LayeringMixed Media Stencil BPMSTbflower


Adhere text from an old book to the tag.  Color stamped image with markers. 

With Butterflies and Flower stencil apply inks, TH Distress Oxide Inks: Dusty Concord, Picked Raspberry. Edge tag with Cosmic Shimmer Texture Paste Emerald Depths.  

Other Supplies:
Tag
Text from an old Alice in Wonderland novel
Chipboard Key
Wink of Stella – Gold
Green Shimmer Spray
StudioLight Watercolor markers
Cosmic Shimmer Texture Paste Emerald Depths
TH Distress Oxide Inks: Dusty Concord, Picked Raspberry
Flower Gems
Fibers/Ribbons
 

Attach Alice with dimensional foam.  Add key and flower embellishments. Finally add fibers the tag!


For a 15% discount on all orders use the code BPMLyneen

  The code is good on both "I Brake for Stamps"

OR the "Blank Page Muse" websites

 Please visit our social media sites for more stamping fun!

I Brake For Stamps - https://ibrakeforstamps.com/

The Blank Page Muse- https://blankpagemuse.com/

FB Fan Page- https://www.facebook.com/groups/blankpagemuse/

Instagram Shop- https://www.instagram.com/blankpagemuse/

Instagram Blog- https://www.instagram.com/blankpagemuseblog/

Twitter- https://twitter.com/BlankPageMuse

Pinterest- https://www.pinterest.com/blankpagemuse/boards/

Friday, January 5, 2024

Alice Playing Croquet in Wonderland

This post will be the first in a series using Alice in Wonderland stamps.  Blank Page Muse has two amazing plates of Alice in Wonderland stamps. Today I am sharing Alice Playing Croquet!  Who ever thought of using a Flamingo as a mallet and a hedgehog as a ball!  The imagination of Lewis Carrol is amazing!!  


To make this tag I used the following stamps from Blank Page Muse:
Alice in Wonderland Characters Set 1 Art Rubber Stamps SC50
Butterflies and Flowers Layering Mixed Media Stencil BPMSTbflower
Butterfly Trails Circles patterns Mixed Media Stencil BPMSTtrails


Other Supplies:
Tag
Text from an old Alice in Wonderland novel
TH Distress Oxide Inks: Brushed Corduroy, Lumberjack Plaid, Squeezed Lemonade
VersaFine Black ink
Clear embossing Powder
Green Shimmer Spray
Studio Light Watercolor markers
Epoxy dots
Stapler
Fibers/Ribbons


  • Stamp Alice image with VersaFine black ink and heat emboss with clear embossing powder. 
  • Color the image with markers.  I choose to keep the colors light to give the image a vintage look.
  • Fussy cut the image of Alice.
  • Staple net fiber to the lower part of the tag as pictured.
  • Adhere Alice directly to the tag.
  • Add epoxy dots to the lower right.
  • Attach ribbons to the tag.


For a 15% discount on all orders use the code BPMLyneen

  The code is good on both "I Brake for Stamps"

OR the "Blank Page Muse" websites

Please visit our social media sites for more stamping fun!

I Brake For Stamps - https://ibrakeforstamps.com/

The Blank Page Muse- https://blankpagemuse.com/

FB Fan Page- https://www.facebook.com/groups/blankpagemuse/

Instagram Shop- https://www.instagram.com/blankpagemuse/

Instagram Blog- https://www.instagram.com/blankpagemuseblog/

Twitter- https://twitter.com/BlankPageMuse

Pinterest- https://www.pinterest.com/blankpagemuse/boards/


Thursday, October 5, 2023

Another Jane Inspired Project for Blank Page Muse

Today I am sharing my second in a series of Jane inspired projects.  I fell in love with the two "Words by Jane" stamp plates over at Blank Page Muse. They are inspired by the works of Jane Austen. If you know me you know I LOVE all things JANE!  My plan for the stamp sets is to do a series of Jane projects!


Today is a Jane Austen inspired tag! Let me introduce Darcy.


Ahere text from old book “Pride & Prejudice” to tag with gel gloss medium. Remove excess paper around the edges of the tag.


Use the Blank Page Muse – Bedazzled Diamonds Stencil designed by Pam Bray PBSTbdzz with Cosmic Shimmer - glossy glaze Honeydew Melon creating a diamond pattern. Let the glossy glaze dry, then ink the tag with Tim Holtz Distress Oxide Ink Gathered Twigs or similar color. The Glossy Glaze diamonds create a resist. Wipe the tag with a paper towel to remove ink from the glossy glaze diamonds.


With VersaFine black ink stamp the Blank Page Muse - "Darcy" and Sentiment – “Time will Explain” from Words by Jane Man & Woman Figures Sentiments Rubber Art Stamp Sheet (SC201). Heat emboss both images with clear embossing powder. With Studio Light Watercolor Markers (or desired markers) color "Darcy" image. Fussy cut "Darcy".


Adhere the acetate clock face, place double-sided tape strategically behind "Darcy".   Cut the sentiment to desired size, edge with Tim Holtz Distress Oxide Ink Gathered Twigs or similar color. With dimensional foam attach sentiment as pictured.


Adhere the image of "Darcy" with dimensional foam to the acetate clock again. Attach three epoxy stickers to the lower right of the tag. To finish the tag, add ribbons.


Supplies Needed

Blank Page Muse - Words by Jane Man & Woman Figures Sentiments Rubber Art Stamp Sheet (SC201)
Blank Page Muse – “Time will Explain” (SC201)
Blank Page Muse – Bedazzled Diamonds Stencil designed by Pam Bray (PBSTbdzz)

VersaFine Black Ink
Tim Holtz Distress Oxide Ink Gathered Twigs or similar color
Clear embossing powder
Studio Light Watercolor Markers
Epoxy Stickers Brown
Acetate clock face
Large Tag
Text from old book “Pride & Prejudice”
Cosmic Shimmer - Glossy Glaze Honeydew Melon
Lace and Ribbons
Dimensional foam
Gel Gloss Medium
Spatula
Ink Blending tool
Heat tool


For a 15% discount on all orders use the code BPMLyneen 

The code is good on both "I Brake for Stamps" 
OR the "Blank Page Muse" websites!

Please visit our social media sites for more stamping fun!
I Brake For Stamps -https://ibrakeforstamps.com/
The Blank Page Muse- https://blankpagemuse.com/

Saturday, May 27, 2023

Vintage Berry Fields Card Class

Simple Stories, using Simple Vintage Berry Fields paper for Card Class at the Scrapbook Zone May 27th.


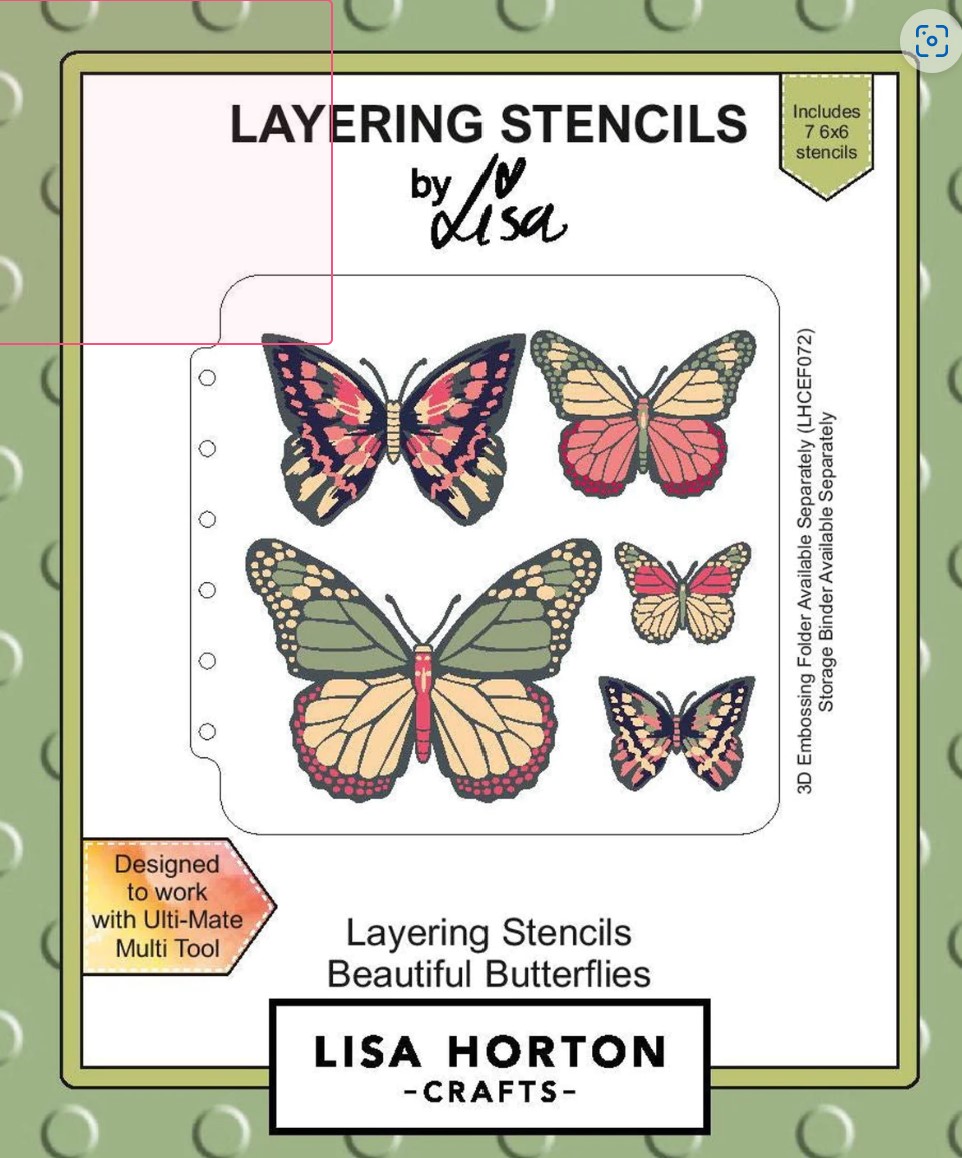
Lisa Horton Layering Stencils


Tim Holtz Watercolor Pencils SET #3